"Life is a journey, not just a destination"
"The journey of a thousand miles begins with one step." Lao Tzu
"I know the plans I have for you, declares the Lord, plans to prosper you and not to harm you, plans to give you hope and a future." Jeremiah 29:11
Tuesday, May 21, 2013
Manicotti
http://www.alidaskitchen.com/2012/08/easy-meatless-manicotti.html?m=1
I follow the recipe except I couldn't figure out how to fit all 14 noodles from the box into the pan, I will have to rethink it next time.
Here are my tips to help
1. Make the cheese mix in a ziploc bag. Put the bag in a bowl or large measuring cup to help it retain a shape while you add ingredients, then close and mash around the mix up. then cut a VERY SMALL piece of one of the corners and use it like a piping bag. You can make this ahead.
2. Insert the tip of the ziploc bag at least an inch into the manicotti noodle then squeeze gently and slowly and the whole noodle will fill up with cheese mix
3. I used ricotta cheese- I love it so much with lasagna
4. I ended up uncovering the manicotti and adding more mozzarella then baking another 10 min for the cheesy bubbly top I desired
5. Measure out the amount of water to add, eyeballing it might end up in a soggy dish
6. Don't be afraid to pump up the flavor in the cheese mix with different spices, S&P, etc
7. I thawed the spinach via microwave (2-3 min or so), initially drained in a colander and pressed out liquid, then wrapped in paper towels to finish pressing out the liquid
enjoy!
Herb Window/Deck Garden
1. Buy 24" deck box and tray. I prefer the less expensive variety if giving as a gift, since you never know if they will re use it or even like the color.
2. Be sure to find one with drainage, if needed GENTLY punch out drainage holes
3. Put a small layer of rock in the bottom to assist drainage
3. fill with a few inches of quality potting soil
4. add 3-4 herb plants of choice that you purchase at your local store, if the root bulb is tight, gently work loose with your fingers
5. places the plants equidistance apart, adding soil to the bottom as needed so the top of the plant's soil is 1/2-1" below the top of the planter
6. fill in with potting soil, packing it down slightly as you go
7. put labels into the soil, and water well
8. water as needed to keep the soil moist but not soaking wet, and enjoy harvesting your herbs
Incredibly simple and easy pasta salad
Pasta Salad (large batch)
2 boxes garden rotini (the multi color ones)
1-2 green bell peppers
1-2 yellow bell peppers
1-2 red bell peppers
1-2 orange bell peppers
1 cucumber
green onions
cherry tomatoes
1-2 bottle zesty italian dressing
Boil water then cook pasta. Be VERY careful to NOT over cook it, you want it just al dente for a few reasons: 1) it will continue to cook as you toss it with the other ingredients while it is still warm, 2) over done pasta falls apart and doesn't retain it's nice big pieces
While pasta is cooking, dice up all your vegetables.
Bell peppers: chop both ends off, make a slice down the side, then slide your knife along the inside to de-seed and de-rib the pepper, wash off then cut into strips, dice strips into small pieces
Cucumber: score skin with fork while washing under cold water (or peel_, cut in half, then cut each half in half again (for quarters), holding the 2 halves of each half together, slice to desired size
Green onions: wash, then using kitchen sheers cut green part into ribbons. if you like more onion flavor, include the white bulb (I usually omit this if going to a party)
Tomatoes: cherry or grape tomatoes work the best, halve small ones, quarter larger ones
Drain pasta well but do not run water over it
In a very large bowl, add pasta and 1 bottle of dressing and toss well with a spoon
Add vegetables and toss further.
Refrigerate until event (I prefer overnight)
Taste before serving, and if needed add more dressing to taste.
voila. super simple and easy pasta salad.
don't be afraid to mix up the ingredients either!
Saturday, May 11, 2013
Potato planting
I have already sowed my early spring seeds (http://kasialucia.blogspot.com/2013/04/a-garden-started.html) and now that the infamous mothers day weekend has arrived, it is time to plant potatoes.
It is best to plant potatoes 2-3 weeks before the last frost in your area.
This year we purchased seed potatoes from Phelan Gardens, a local nursery (http://www.phelangardens.com/). We thought burpee would not ship us the potatoes, but we were mistaken and ended up giving those ones away. In future years, we will stick with the local nursery, the cost and variety was much better.
In my rather small garden, I used 2 seed potatoes of both russet and red, cut the, in half for a total of 4 plants.
It is best to leave at least 2 good eyes or sprouts on each piece of potato that you are going to plant.
My wise mother reminded me to cut my seed potatoes a week or two in advance to allow the cut side to "scar over" and dry up a little to reduce the risk of the potato rotting after planting.
After cutting, I just put them in a bowl on top of my refrigerator to dry out until planting time.
I pre planned my garden before planting this year, so I already knew right where I was going to plant my potatoes.
I have1 row of each with 4 potatoes in each row, spacing them evenly, about 1 foot apart. They need lots of space underground for all the tubers to grow!
I like to set out my eyes (or any plant) in the rows to eyeball it before I start digging and planting.
Then I just use my trowel (since I am really not planting very many) and dig a hole about 3" deep .
Place the potato in the whole eye side up, then cover with 3-4" of dirt, packing firmly.
Repeat until finished.
And as always, don't forget to immediately water after planting, and to keep your garden moist.
On a side note, I am happy to report that I have sprouts of garlic, pak choy/bok choi, radish, and some spinich emerging after the great rain we had the last 3 days.
![]() |
| some of my favorite garden helpers |
Saturday, April 27, 2013
A garden started
Nothing beats a beautiful Colorado spring day with sunshine working in the garden
Today I did my final turn over and rake out and planted my early spring vegetables!
As always my mother is the most amazing source of gardening how too and tested me that the final frost was not expected until May 31 so I should not plant my potatoes yet.
Here is what I planted today:
Garlic
Lettuce
Spinach
Radish
Pak choi
Carrots
Onions
I blocked out my whole garden ahead of time to plan what I would put in the garden and what to put in pots (since I will run out of space) then used craft sticks to plan the rows
Then I turn around the sticks for vegetables that I haven't planted yet and then hoe the rows
Cover with dirt and little stamp down with your feet, when everything is planted water well.I chose to use the miracle grow fertilizer that attaches to your hose as week.
Water daily if not twice a day
Here in Colorado, it is still a little too cold at night to turn on our sprinkler system and we are on watering restrictions, so I will be hand watering until it warms up and I can convert my existing garden sprinklers to drip irrigation
I love gardening and am so glad my mom imparted get green thumb to us.
Another bonus,I used pintrest to help me officially companion plant this year.
Happy spring!
Friday, April 26, 2013
Crocheted Dishcloths
This post is how to make my two favorite crocheted dish cloths. I made handmade dish cloths for many relatives for Christmas, and now have a friend's wedding coming up and decided to make them some, along with some other kitchen themed gifts.
Here are my two favorite patterns:
Granny Square
supplies:
cotton yarn (I use peaches and cream from walmart, remember this is a dish cloth, not a fancy shawl so don't spend too much)
size H hook
scissors
yarn needle to sew ends in
Steps
1. Ch 4, sl st to join making a circle, chain 3
2. round 1: 11 double crochets into the circle, sl st to join into large circle
3. Round 2
In the third stitch over, 2 dc, ch 3, 3dc
In the next third stitch over, 3dc, ch 3, 3dc
repeat x 2 to make 4 corners
After the last corner, dc into the first stitch then sl st to join
4. Round 3- desired size (the one pictures has 9 rounds)
In first corner space, 2dc, ch 3, 3dc
In each space, 3dc
In other corner spaces, 3dc, ch 3, 3dc
continue until you reach the first corner (it can be helpful to mark it) then dc back into the first corner and sl st to join
5. sew ends in, wash and block if giving as gift, and start using! wash in the laundry with your other dish towels
Gentle Ridges Dishcloth
(courtesty of http://www.examiner.com/article/gentle-ridges-quick-and-easy-crochet-dishcloth-pattern)
cotton yarn
size H hook
Sunday, February 24, 2013
Crocheted Pot Scratcher
Materials
1. Nylon Netting
-buy 10-15 yards of nylon netting in any color (not fine vieling). 10 yards makes a smaller pot scratcher, 15 yards makes a larger one.
- stretch it out lengthwise leaving it folded in the center (the way it comes) and cut it into 5" strips across
- roll up the strips and ruber band them. 1 set will make a lot!
2. Size N crochet hook
Directions
this is a very "loose" pattern. it is not that important to be exact, because it will work out and also because it's just a pot scratcher. so don't stress out and approximating is fine
1. Mark strip 1/2 way with a black marker
2. Rolling nylon into crochetable shape, ch 15 (about 3"/enough to make a small circle) leaving about a 2" tail
3. Sl St into first chain to make a circle
4. ch 1 then SC about halfway around the circle
5. do 1 SC inc (2 SC in 1 stitch) when you about halfway through
6. continue SC around the rest of the circle, sl st to join
7. repeat steps 4-6 until you reach the halfway mark
8. ch 1 then SC about halway around the circle
9. skip 1 SC about halfway around then SC the rest of the way around the circle, sl st to join
10. repeat steps 8-9 until you have finished with about a 2" tail at the end. Knot off the ends to secure
11. You will have a cylinder that tapers to the end
12. pull the tails through the middle and flatten into pot scratcher shape
13. Pull tails through a few times (they should be on opposite sides) leaving enough to pull through and knot a few times
14. Pull 1 tail through so the tails are on the same side and knot them together
15. pull tails through to teh other side and knot them together
15. Weave rest of tail ends into pot scratcher and finish shaping pot scratcher by stretching/pulling
Saturday, January 26, 2013
Quiche
Recently I had a patient bring us a delicious quiche, and between picking her brain and crusing the internet, I came up with this recipie:
Ingredients:
2 frozen unbaked DEEP DISH pie crusts
8 eggs
1 small container half-and-half (
meat of choice (I used a little less than 1/2 a package of bacon)
veggies of choice (onion, broccoli, spinich, mushrooms, bell peppers, etc. a good time to clean out the fridge)
Cheese (monterey jack or cheddar work well)
salt and pepper to taste
olive oil to sautee veggies
Directions:
1. Preheat oven to 375 degreesF
2. Cut meat into small/bite sized pieces, cook, and set aside to drain
3. Steam veggies as needed (broccoli for example)
4. Sautee and season all veggies in olive oil until soft, start with onion and add others in. Try to decrease the amount of moisture in the veggies.
5. Combine meat with veggies and leave in pan
6. Whisk eggs and half-and-half together
7. Put veggie/meat mix in to egg mix and stir to combine
8. Add cheese into egg mix and stir in. Feel free to titrate the amount to your taste (or calorie goal). I use about 6-8oz of monterey jack
9. Place pie crusts on baking sheet
10. Ladle/gently pour mixture into pie crusts
11. Bake at 375 for 40min. Let stand 5-10 min then enjoy. Cover with tin foil and eat through the week, or they freeze nicely.
Hope you enjoy!
Saturday, August 25, 2012
a coin, or not a coin
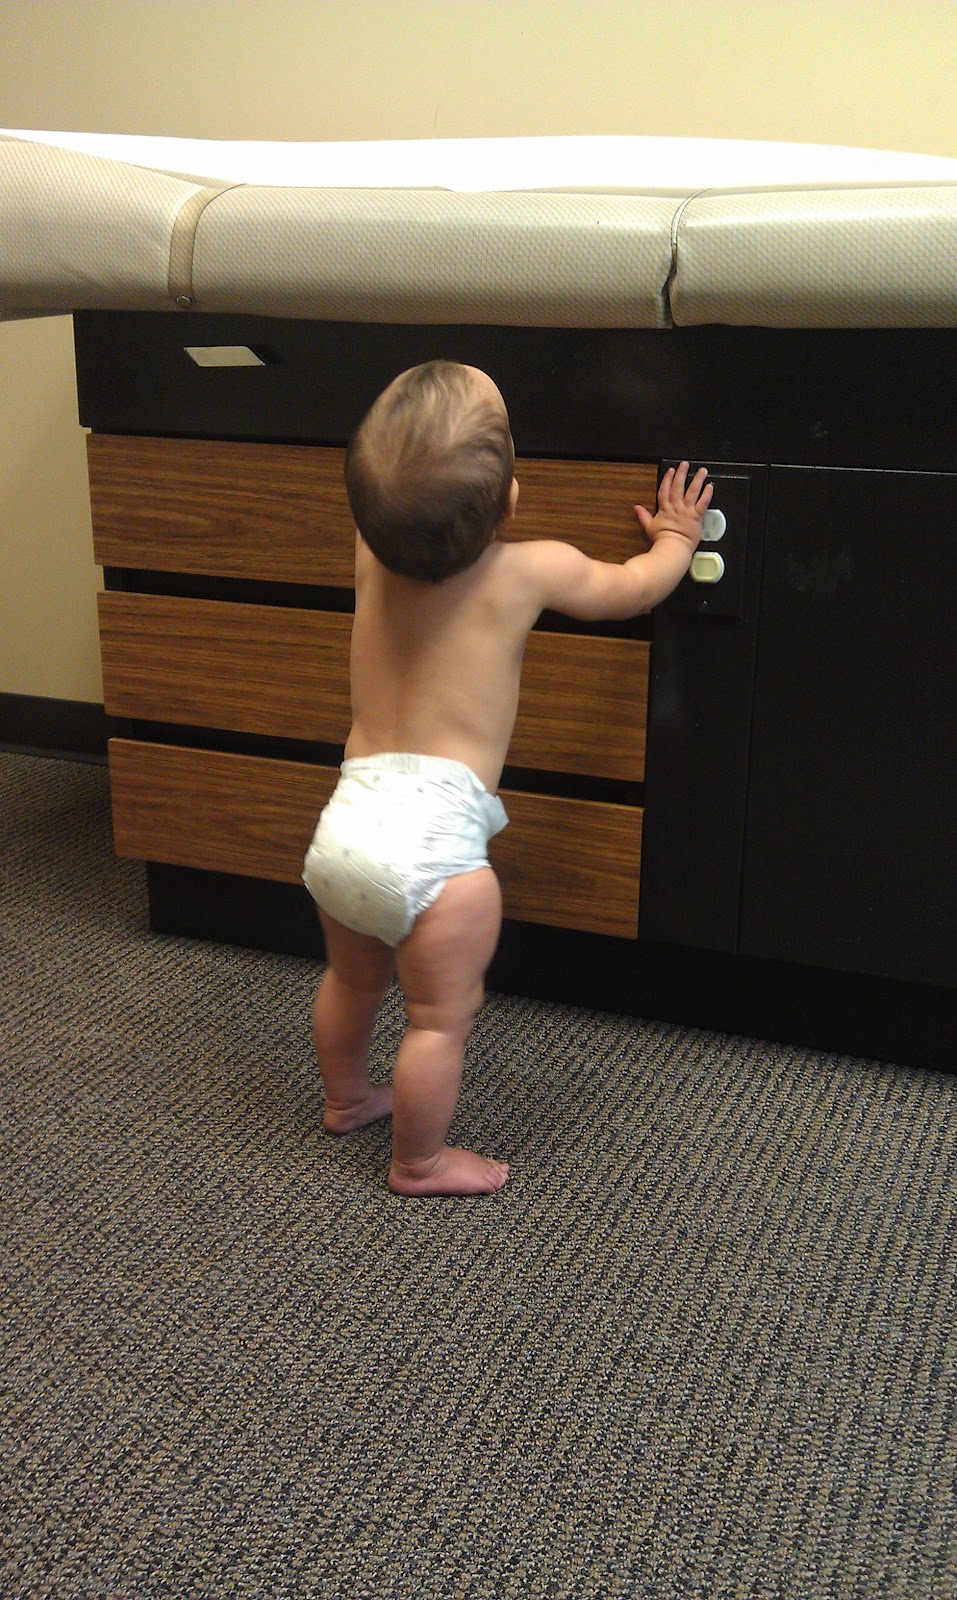
luckily it looked like the circumstantial evidence that she swallowed a coin, was in fact, proven to be false.
but we checked diapers and went to the doctor anyways.
the picture I really wanted to post I couldn't take, because it was in the x-ray room but here she is exploring the exam room:
don't worry, there was no coin, and she did great.
but, it certainly feels like a right of passage!
Monday, August 13, 2012
Sunday, July 22, 2012
Thursday, July 5, 2012
garage organization mania
We decided some good shelves that we could take with us when we move was a good decision, so with the help of my dad and the fine associates at Sams Club I got 2 "muscle rack" shelving units.
I pulled everyone off (which I also did not get a good picture of everything on the garage floor waiting to be reorganized onto the new shelves) and demo'd the old shelves (very gratifying and hopefully calorie burning).
After installing the new shelves, I set about to reorganizing and throwing away. By far, the biggest contribution to the "trash" (really the hazardous materials waste dept) was OLD paint cans left from previous owner(s),
I also finally hung our extra bike from the ceiling and reorganized the way the tools were hanging. It's amazing, if I do say so myself.
To top it all off I (of course) swept thoroughly.
One of the best surprises was the discovery of the only wall outlet in the garage!!! I thought there were none! (there are some outlets on the ceiling where the garage door openers are but that is not user friendly for plugging in chargers, extension cords, etc.). So now I have a hand dandy power strip plugged in and affixed to one of the shelf's poles and have set up a pretty sweet charging area and it also provides easy access for plugging in extension cords and power tools.
Little N and Athena supervised.
![]() |
| we don't need no stinkin' play pen! |
Out of the Ashes we will rise
http://www.wildfiretees.com/
It is a group of Colorado small business owners who banded together to create these T shirts and a web site to raise money for the Red Cross, Colorado Wildlife Relief Fund, and other organizations helping all the people who are adversely affected by the wildfires in Colorado. So, for $20 you get a sweet T-shirt and donate to a good cause :]
You can also donate to any of the following organizations:
Red Cross
Pikes Peak United Way
Care and Share
Sunday, July 1, 2012
2012 Garden
So here it is:
so far the radish crop was a bust (maybe because of the record highs?) but the I have harvested 2 set of lettuce which are delicious! the potatos are by far doing the best, and I added 3 blackberry bushes in the back for Tony. Here's hoping for a great crop (even though things are starting up slowly!)